Using a fish finder might seem intimidating at first due to its various settings and features. However, with modern fish finders designed to be user-friendly, basic operation can be learned quickly. While mastering all the advanced features might take some time and practice, the initial setup and basic use are relatively straightforward.
5 steps for beginners on how to use a fish finder:
- Start by powering up your fish finder unit, ensuring it’s connected to a suitable power supply.
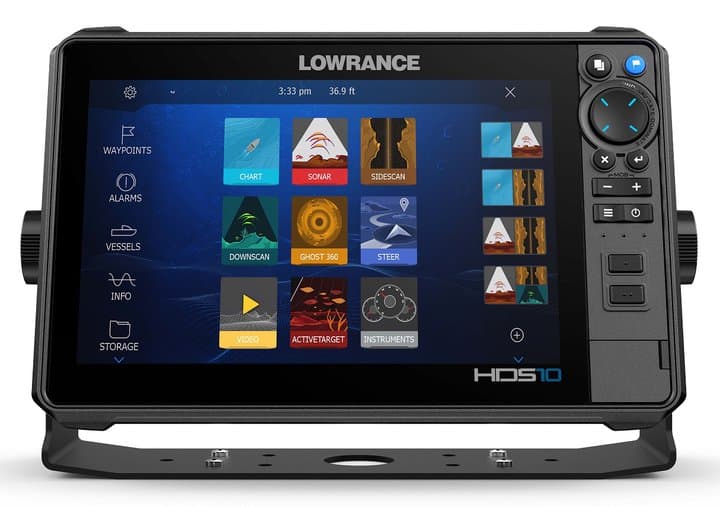
- Familiarize yourself with the device’s interface, often displayed on the screen upon startup.
- Navigate to the basic settings to adjust parameters like depth range, sensitivity, and display color.
- Delve into the sonar settings to fine-tune frequencies and modes to get the best underwater view.
- With everything set, use the fish finder to catch fish with the help of sonar images.
How to Use the Fish Finder Interface
Navigating and understanding the interface of your fish finder is crucial for getting the most out of the device. Here’s a more detailed look at how to use the interface:
- Buttons or Touchscreen: Modern fish finders come with either button-based interfaces or touchscreen interfaces.
- Button-Based Interface: There will typically be buttons like “MENU,” “ENTER,” “UP,” “DOWN,” “LEFT,” and “RIGHT” to navigate through the options. Press the “MENU” button to access the main menu where you’ll find various settings. Use the arrow buttons to move through the menu options, and the “ENTER” button to select an option.
- Touchscreen Interface: Simply touch the icons on the screen to access different menus and settings. You can swipe to navigate through menus or zoom in/out on the display.
- Main Menu: The main menu is the gateway to all settings and features of your fish finder. Here you’ll find options like Sonar, GPS/Mapping (if equipped), Settings, System, and others depending on your model.
- Quick Access or Shortcut Menus: Some fish finders have quick access or shortcut menus for commonly used settings. This is handy for making quick adjustments without having to navigate through the entire menu system.
- Status Bar: The status bar, usually located at the top or bottom of the screen, provides important information like current depth, water temperature, and GPS status.
- Split-Screen Views: Many fish finders offer split-screen views so you can see different types of information at once, like sonar readings on one side and GPS maps on the other.
- Zoom and Pan: Use zoom in/out buttons or pinch-to-zoom (on touchscreen models) to get a closer look at specific areas. Pan by touching and dragging the screen (on touchscreen models) or using arrow buttons to move the view around.
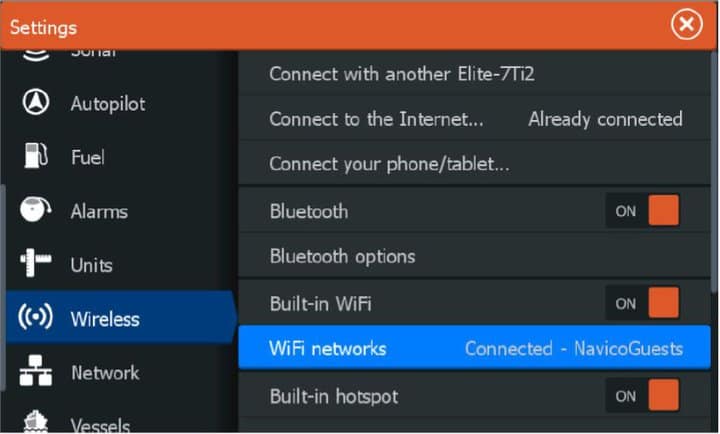
- Settings Menus: In the settings menus, you’ll find options to adjust things like display brightness, units of measure, sonar settings, and others.
- Help or Info Options: Some fish finders have a help or info option in the menu that provides explanations for different settings and features.
- Back or Exit Button: To go back to the previous menu or exit a menu, use the “BACK” or “EXIT” button on button-based models or the back icon on touchscreen models.
- Saving Settings: After adjusting settings, make sure to save your preferences if your fish finder requires it.

Basic Settings of Fish Finder
The basic settings of a fish finder help customize its functionality to your preferences. These settings are typically found in a menu on the fish finder, often labeled as “Settings,” “System,” or “Setup.”
Let’s delve into more details regarding the basic settings of a fish finder:
Brightness/Contrast:
- Brightness: Adjusting the brightness will help ensure the screen is visible in varying lighting conditions. Brightness control adjusts the level of light emitted from the screen.
- Contrast: Contrast control adjusts the difference between the dark and light areas on the screen. A proper contrast setting will provide a clearer image with better definition.
- It’s advisable to tweak these settings under different lighting conditions (e.g., bright sunlight, overcast skies, nighttime) to find what works best for you.
Units:
- Depth Units: Switch between meters and feet based on your preference or local standards.
- Temperature Units: Choose between Celsius and Fahrenheit for water temperature readings.
- Distance Units: Set distance units to kilometers or miles for GPS distances and speed readings.
Language:
Selecting the language will change the text displayed on menus, buttons, and data fields to your preferred language. This is crucial for understanding the information presented and navigating the menus easily.
Alarms:
Some fish finders have alarm settings where you can set alarms for certain conditions like a specified depth range, fish detection, or low battery warning.
Color Palette:
Change the color palette to suit your preference or to provide better visibility under certain lighting conditions. Some color palettes may offer better contrast or be easier on the eyes.
Software Updates:
Check for and install software updates to ensure your fish finder is running the latest software version, which may include bug fixes and new features.

Sonar Settings of Fish Finder
Sonar settings are pivotal for effectively using a fish finder as they allow you to tailor the device’s performance to your specific needs and the prevailing water conditions. Here’s a more detailed look at the sonar settings in fish finder:
- Frequency Selection: Fish finders usually operate on different frequencies such as 50 kHz, 83 kHz, 200 kHz, or even higher. Lower frequencies (50-100 kHz) are ideal for deeper water as they provide better depth penetration but less detail. Higher frequencies (200 kHz or more) are suitable for shallow water as they offer more detail but less depth penetration. Some advanced fish finders offer dual, triple, or even multi-frequency options which allow you to scan the water at different depths simultaneously.
- Depth Range: This setting allows you to adjust the depth range that the sonar will cover. Some units have an auto-range function that automatically sets the depth range based on the water depth, which is useful for general use. However, you can manually set the range to focus on a specific depth, which can be helpful when you are targeting fish at a known depth.
- Sensitivity: Sensitivity controls how much detail is shown on the screen. Higher sensitivity will pick up more details including small fish and debris, but may also result in a cluttered screen. Lower sensitivity may provide a cleaner image but may miss some details. Adjusting sensitivity to the right level based on water conditions and your fishing needs is key to getting useful information.
- Fish ID: Fish ID is a feature that interprets the sonar returns and displays fish icons instead of the traditional arches. This can be helpful for beginners but may not always be accurate. Experienced anglers often prefer turning off Fish ID to interpret the raw sonar data themselves.
- Bottom Lock: Bottom lock keeps the bottom of the water body on the screen, regardless of whether the bottom is flat or sloping. This can be useful for tracking the bottom contour, especially when fishing near the bottom or in areas with varying bottom structures.
How to Use Fish Finder to Catch Fish
Utilizing a fish finder to catch fish involves a combination of understanding the device, interpreting the data, and applying this information to your fishing strategy. Here’s a step-by-step guide on how to use a fish finder to enhance your chances of catching fish:
- Familiarize Yourself with Your Fish Finder: Read the manual and understand the basic and advanced features of your fish finder. Familiarity with settings like frequency, sensitivity, and zoom will help you tailor the device to the fishing conditions.
- Optimize Settings for the Water Conditions: Adjust the frequency and sensitivity settings based on the depth and clarity of the water. Higher frequencies are better for shallow water and provide detailed images, while lower frequencies are suited for deeper water.
- Understand Sonar Returns: The basic display of a fish finder shows sonar returns as lines or arches. Fish are often displayed as arches, while a continuous line usually represents the bottom. You can refer to our guide on How to Read Fish Finder to interpret sonar returns effectively.
- Identify Potential Fishing Spots: Use your fish finder to locate underwater structures like rocks, vegetation, or sunken objects where fish may be hiding. Fish often congregate around these structures for shelter and hunting prey.
- Locate Fish: Look for arches or fish icons on the screen which indicate the presence of fish. Pay attention to the depth and location to plan your fishing approach.
- Use Zoom and Split-Screen Features: Use the zoom feature to get a closer look at a particular depth range. If your fish finder has a split-screen feature, use it to view different sonar readings side by side, such as traditional sonar and Down Imaging or Side Imaging.
- Mark Productive Spots: If your fish finder has GPS functionality, mark productive spots where you find fish or interesting underwater structures. This way, you can easily return to these spots in the future.
- Adjust Your Fishing Tactics: Alter your fishing tactics based on the information from the fish finder. For example, if you see fish suspended in the water column, you might want to switch to a lure or bait that targets that specific depth.
- Monitor Water Temperature: Some fish species are sensitive to water temperature. Use the temperature reading on your fish finder to find the optimal temperature zones for the species you are targeting.
- Experiment and Learn: Experiment with different settings and fishing tactics, and learn from your experiences. Over time, you’ll get better at interpreting the data from your fish finder and using it to catch fish.
- Maintain a Log: Keep a fishing log to note down the settings, locations, and conditions where you had success. This information can be valuable for planning future fishing trips.
- Stay Patient: Remember, a fish finder is a tool that aids in finding fish, but it doesn’t guarantee a catch. Patience, experience, and fishing skills are also crucial for a successful fishing outing.
What to Look for When Buying Fish Finder
Fish finders come in a wide variety of feature sets and price points. The best fish finder is the one that suits your budget and usage. Here’s a breakdown of the utility you can expect in each price range.
Cheap under $200 Fish Finders
Budget-friendly fish finders under $200 are mostly used by beginners and casual anglers. They provide basic sonar capabilities and usually include a simple grayscale or color display. These units are ideal for fishing in shallow waters, small lakes, or rivers. They can be utilized for detecting fish and understanding bottom contours, albeit with limited features and less detailed imaging compared to higher-end models.
Mid Range Under $500 Fish Finders
Mid-range fish finders priced under $500 offer a balance of cost and functionality. They often feature color displays, better resolution, and additional sonar technologies like Down Imaging or Side Imaging. These units can be utilized for a wide range of fishing activities including inshore fishing, kayaking, and small to medium-sized boat fishing in both freshwater and saltwater environments. They offer a better understanding of underwater structures and fish location.
High End Under $1000 Fish Finders
Fish finders in this range come packed with advanced features. CHIRP sonar is standard, and most models offer both Down Imaging and Side Imaging. The screens are larger, often up to 9 inches, with high resolution and better visibility in sunlight. Advanced GPS and mapping functionalities, including the ability to add custom maps, become standard. Under $1000 fish finders are used by serious anglers and professionals who demand the best tools for their trips.
Premium $1000 plus units
The premium range offers top-of-the-line features and functionalities. Expect large, high-resolution screens that can exceed 12 inches, with multi-touch capabilities. The sonar capabilities are at their best, with multi-frequency CHIRP, advanced Down Imaging, and Side Imaging. These units come with extensive mapping options with highly sensitive GPS. These fish finders are used by professionals, tournament anglers, or those who want the most advanced technology available to enhance their fishing experience.

